Long Exposure Night Photography
2021 Tetonia, Buffalo River, Island Park
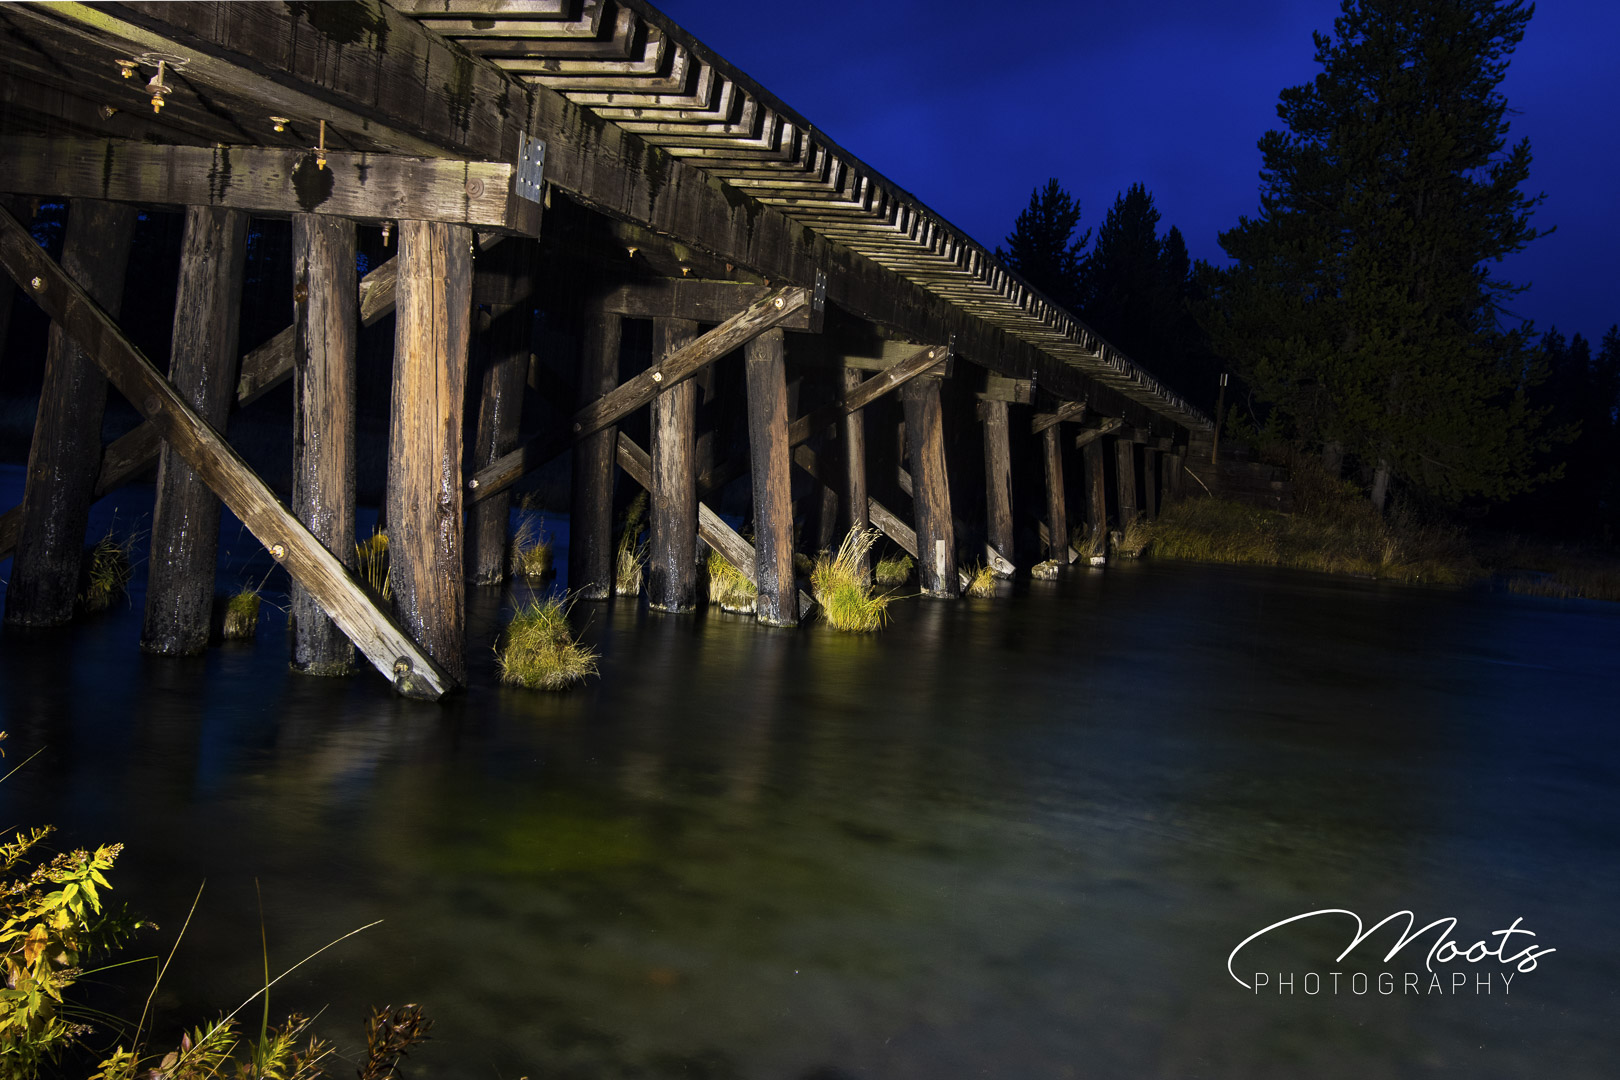
In my Professional Imaging class, we did a lot of long exposure photography. This post includes all of the long exposure photography that we did outside at night. The way to do long exposure night photography is to use a tripod with a professional camera. You’ll first want to use autofocus inside on something that is about 30 feet away, and then switch to manual focus. After that, you have to set it on a long shutter speed of about 15-25 seconds and put it on a 2-second delay. The last step is to use a flashlight and shine it on the areas that you want to be seen in the photo once you’ve pushed the shutter button. Long exposure night photography is a lot of fun once you’ve gotten your settings set up.
Work
Featured Work
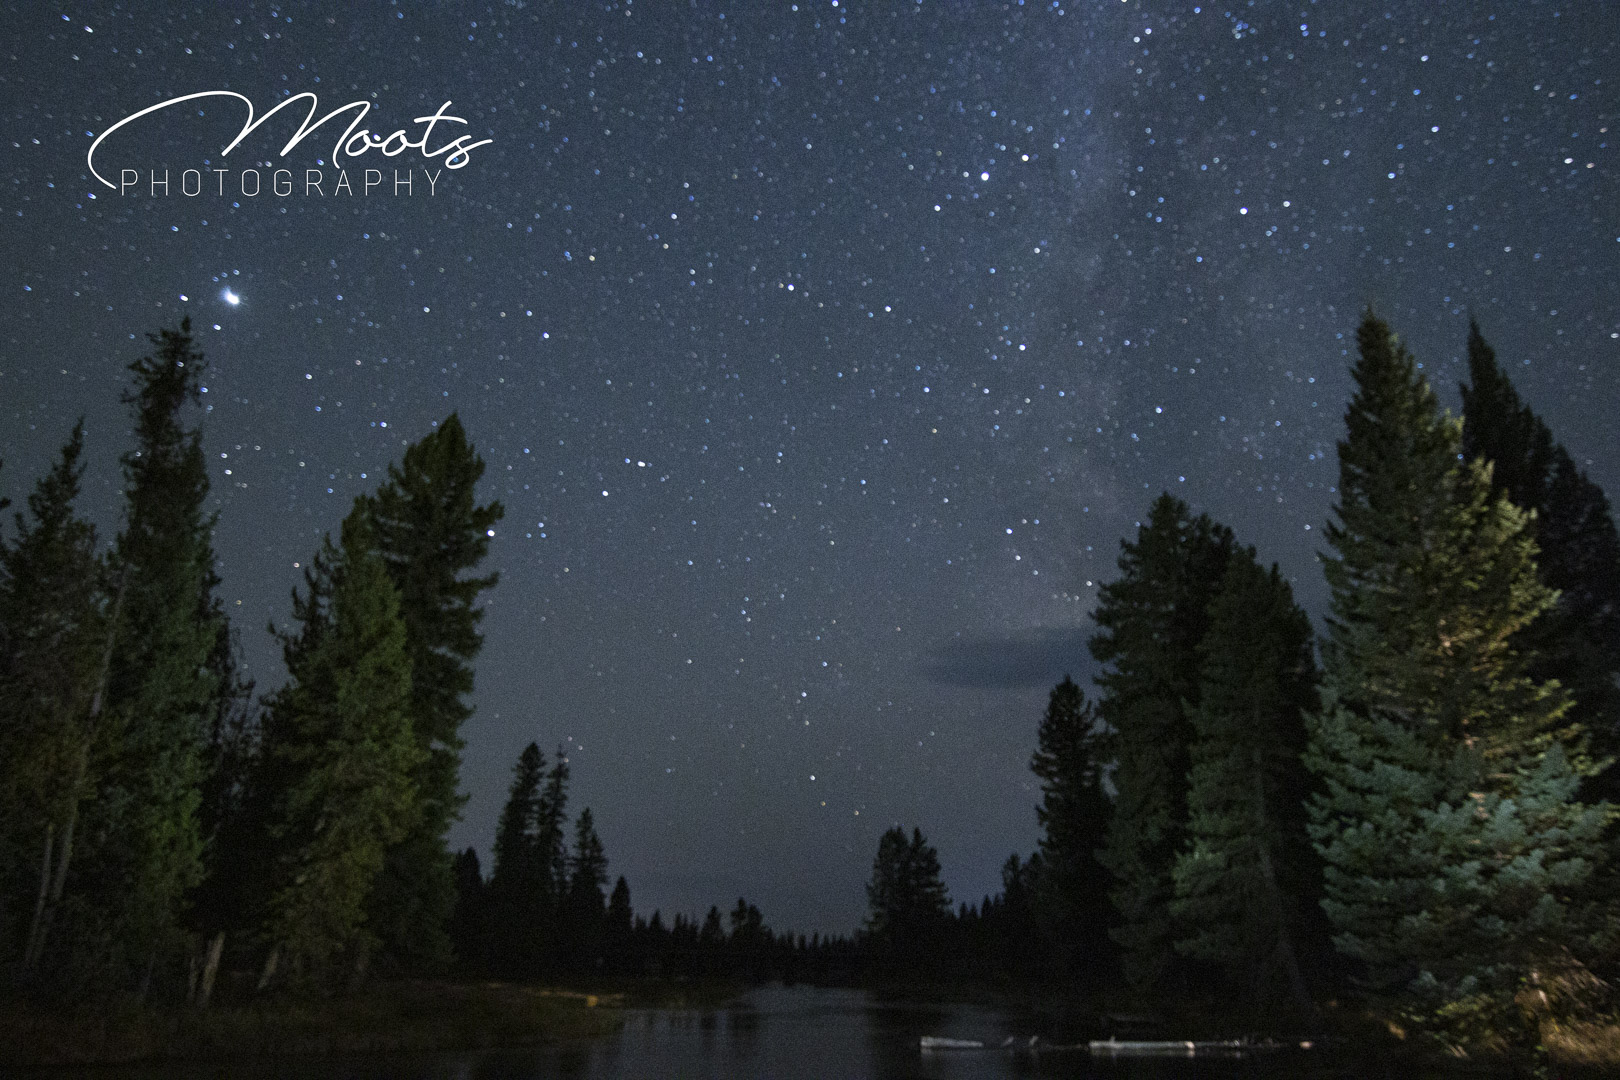
On one of the nights during the excursion, my teacher taught us astrophotography. The settings were very similar to the other long exposure night photography that we did. My teacher had us set up our tripods on a dock outside of her cabin. After hitting our shutter buttons, she illuminated the trees around the river with a flashlight. It was super cool and fun to do.
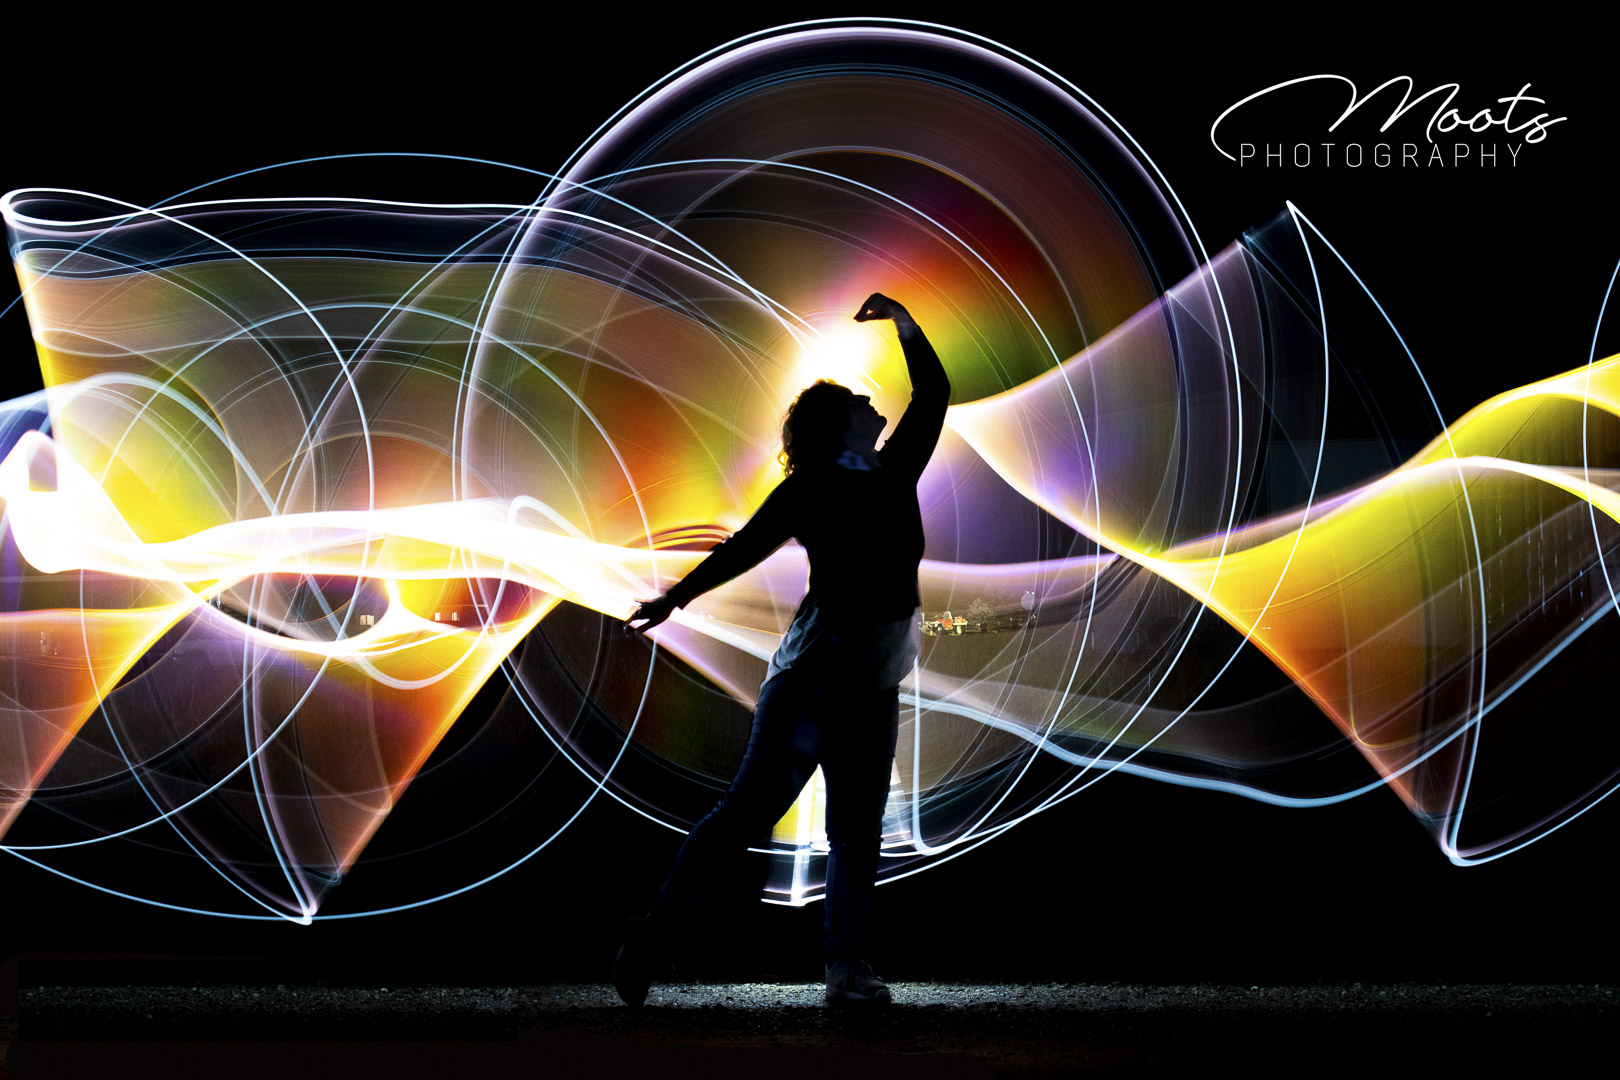
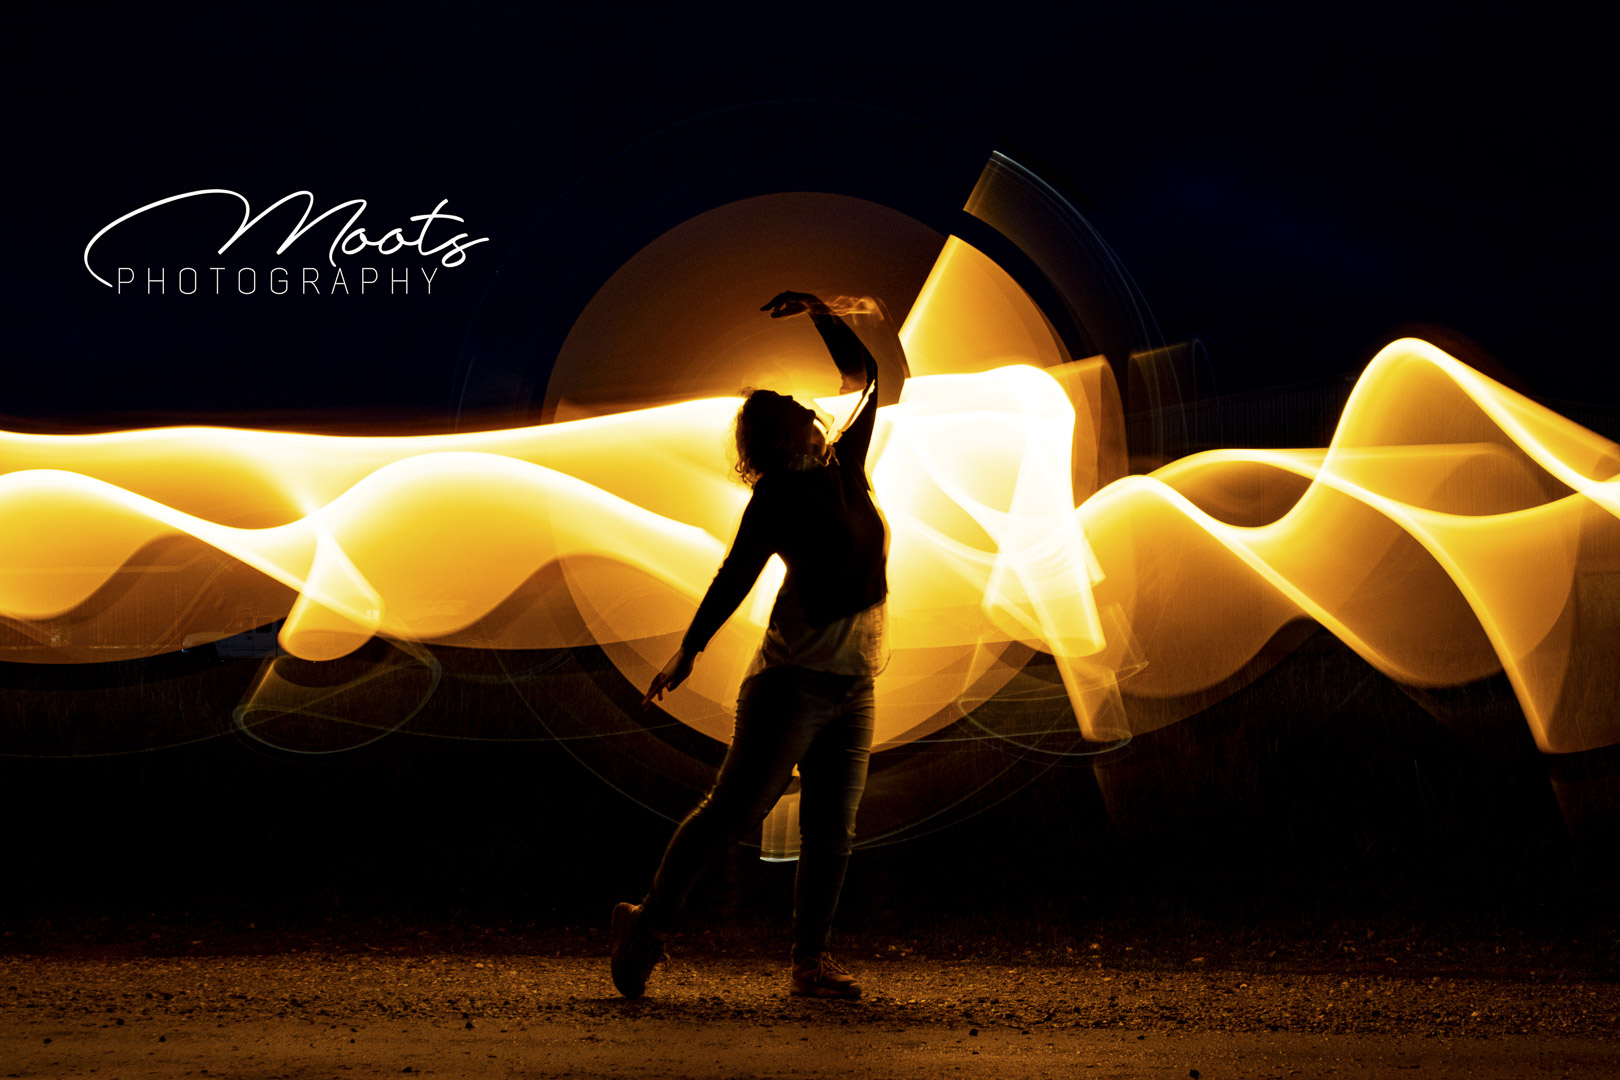
These 2 photos were taken with light tubes. They look like light lightsabers and they look super cool in photos. The model was a mentor that came with us on the trip, and my teacher was the one who made the cool designs with the light tubes. The settings for the camera are very similar to the settings I used for the Trestle Bridge. These were super fun to do and I recommend trying this type of photography.
“To me, photography is an art of observation. It’s about finding something interesting in an ordinary place… I’ve found it has little to do with the things you see and everything to do with the way you see them.”
— Elliott Erwitt
